Identifying the Cause of Peeling Paint

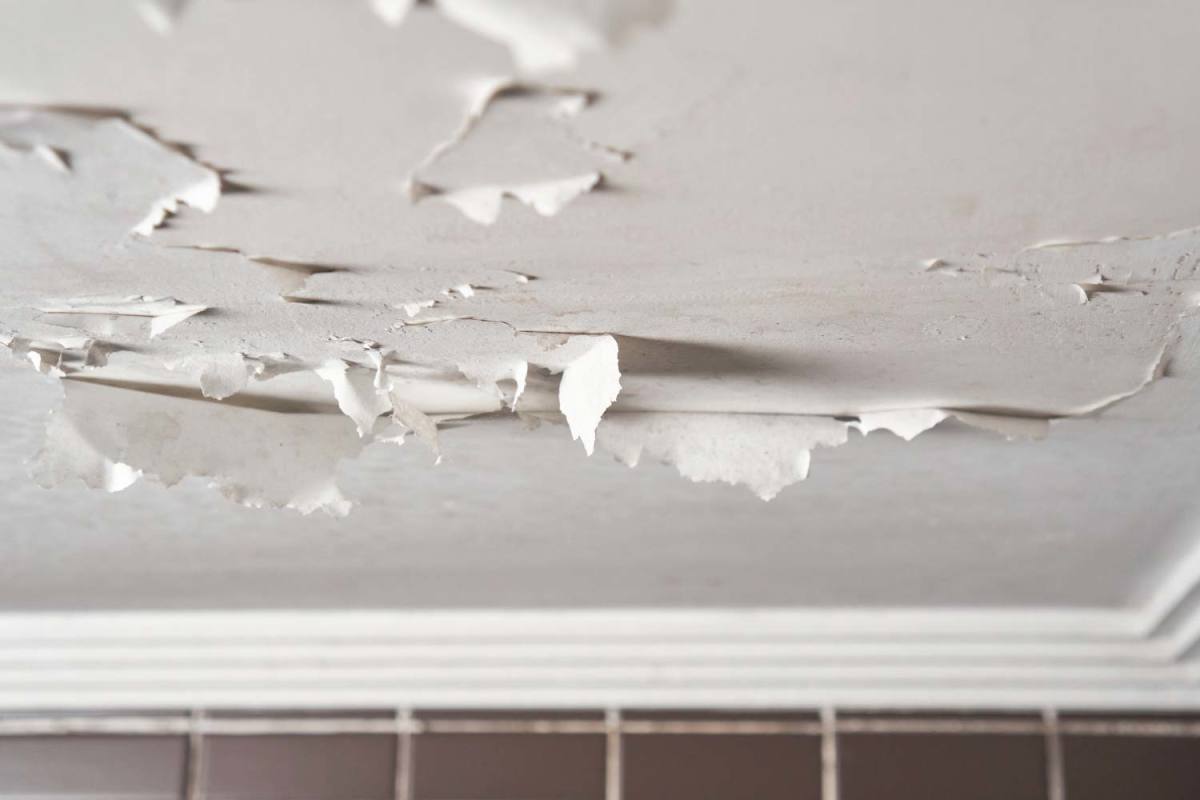
Peeling paint in a bathroom can be a common problem, and identifying the cause is crucial for effectively addressing it. Several factors can contribute to paint peeling in this high-moisture environment.
Moisture and Humidity
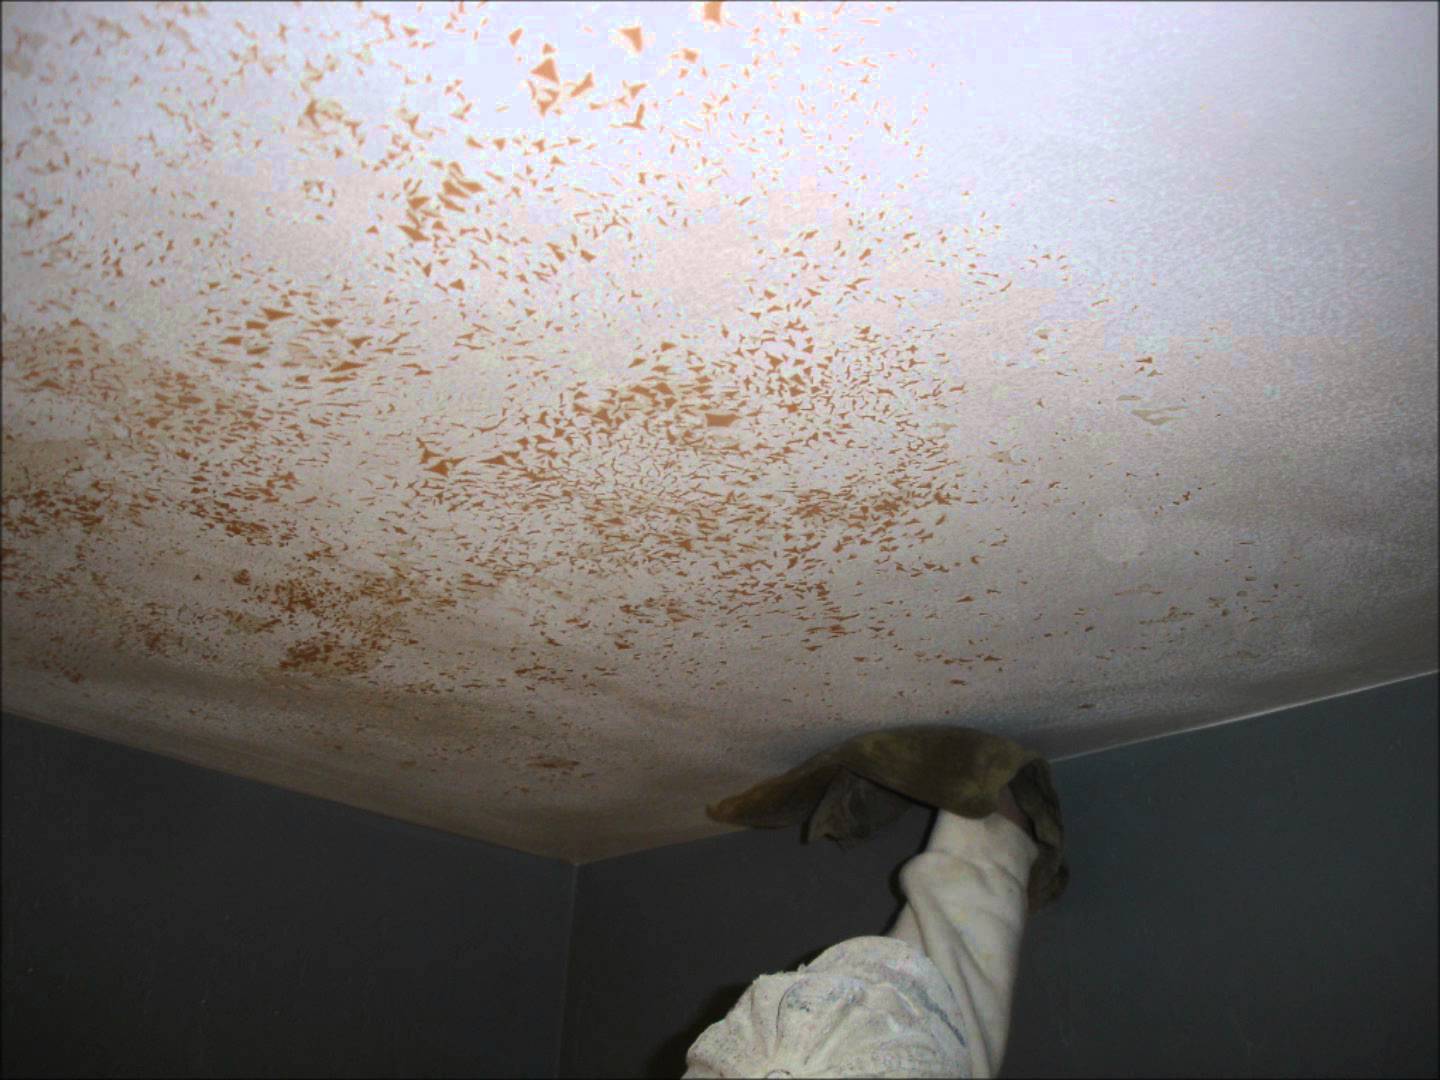
High moisture levels are the primary culprits behind peeling paint in bathrooms. The constant presence of steam from showers and baths creates a humid environment that can cause paint to detach from the surface. Moisture can penetrate the paint layers, leading to blistering, cracking, and eventually peeling.
Poor Ventilation
Inadequate ventilation exacerbates the problem of moisture buildup. When there is no proper airflow to remove excess moisture, the humid environment persists, accelerating paint deterioration.
Improper Preparation
The quality of surface preparation before painting significantly impacts the paint’s adhesion. If the surface is not cleaned properly, or if existing paint is not properly sanded, the new paint will not adhere properly, leading to peeling.
Type of Paint
The type of paint used can also influence its susceptibility to peeling. Oil-based paints are generally more durable and moisture-resistant than latex paints. However, latex paints are easier to apply and clean up, making them a popular choice for bathrooms. Choosing the right type of paint is essential for ensuring proper adhesion and longevity.
Signs of Underlying Issues
Peeling paint may be a symptom of more significant problems, such as water damage or mold growth. If you notice peeling paint accompanied by other signs, such as water stains, musty odors, or discolored walls, it’s essential to investigate further to address the underlying cause.
Important: If you suspect water damage or mold growth, it’s crucial to consult with a professional for inspection and remediation.
Preparing the Surface for Repair: How To Fix Peeling Paint In Bathroom

Before you start painting, you need to properly prepare the bathroom surface to ensure a smooth and long-lasting finish. This involves cleaning, sanding, and patching any damaged areas.
Cleaning the Surface
Thoroughly cleaning the surface removes dirt, grime, soap scum, and other residues that can prevent paint from adhering properly.
- Use a mild detergent and warm water to clean the walls and ceiling. Avoid harsh chemicals that can damage the surface.
- Rinse the surface thoroughly with clean water and allow it to dry completely.
- For stubborn stains, you can use a specialized cleaner designed for bathroom surfaces.
Removing Loose or Peeling Paint, How to fix peeling paint in bathroom
Removing loose or peeling paint is crucial for a successful repainting project.
- Use a paint scraper to carefully remove loose paint. Start at the edges of the peeling paint and work your way inwards.
- For stubborn areas, you can use a heat gun to soften the paint, making it easier to remove. However, be cautious as heat guns can damage the underlying surface if used improperly.
- Always wear safety glasses and gloves to protect yourself from paint chips and dust.
- Once you’ve removed the loose paint, use a wire brush to remove any remaining paint flakes.
Sanding the Surface
Sanding the surface creates a smooth and even base for the new paint.
- Use medium-grit sandpaper to sand down any rough areas or imperfections.
- Sand in a circular motion to avoid creating scratches.
- After sanding, wipe the surface with a damp cloth to remove dust and debris.
Patching Damaged Areas
Patching damaged areas ensures a smooth and even surface for painting.
- Use a patching compound to fill in any cracks, holes, or dents.
- Apply the compound with a putty knife, ensuring it’s smooth and even.
- Allow the compound to dry completely before sanding it smooth with fine-grit sandpaper.
Applying the New Paint

With the surface properly prepared, you’re ready to apply the new paint. This step is crucial for achieving a smooth, durable, and aesthetically pleasing finish. The key lies in choosing the right type of paint and applying it correctly.
Applying Primer and Paint
Primer acts as a bonding agent between the surface and the paint, promoting adhesion and creating a uniform base for the final coat. It’s especially important when working with bare surfaces, previously painted areas with different colors, or when covering stains.
- Choose the right primer: For bathroom surfaces, opt for a moisture-resistant primer that also prevents mildew growth. Oil-based primers provide better adhesion and moisture resistance, while water-based primers offer low VOCs and quicker drying times.
- Apply the primer evenly: Use a brush or roller, applying thin, even coats. Avoid overloading the brush or roller, as this can lead to drips and uneven coverage. Allow the primer to dry completely before proceeding to the next step.
- Apply the paint: For bathroom surfaces, choose a paint specifically designed for high-moisture areas. Look for paints labeled as mildew-resistant, moisture-resistant, or bathroom-grade. These paints typically contain additives that resist moisture and mold growth.
- Apply the paint in thin, even coats: Using a brush or roller, apply thin coats of paint, allowing each coat to dry completely before applying the next. Multiple thin coats provide better coverage and a smoother finish than one thick coat.
- Ensure proper drying time: Allow sufficient drying time between coats. The drying time varies depending on the type of paint and the room temperature. Refer to the paint manufacturer’s instructions for specific drying times.
Choosing the Right Paint for Bathroom Surfaces
Bathroom surfaces are exposed to high humidity, frequent temperature changes, and potential moisture buildup. Choosing the right type of paint is essential to ensure durability and prevent problems like peeling, mildew growth, and discoloration.
- Moisture resistance: Look for paints labeled as “moisture-resistant,” “damp-proof,” or “bathroom-grade.” These paints contain additives that resist moisture penetration, preventing peeling and blistering.
- Mildew prevention: Mildew thrives in damp environments. Choose paints with mildewcide additives that inhibit mold growth, keeping your bathroom walls clean and fresh.
- Durability: Bathroom surfaces often receive heavy use. Choose paints that are durable and washable, able to withstand frequent cleaning and scrubbing without damage.
- Finish: Consider the desired finish for your bathroom walls. Satin or semi-gloss finishes are popular choices for bathrooms, as they are easy to clean and resist moisture. Flat finishes, while aesthetically pleasing, are more prone to dirt and stains.
How to fix peeling paint in bathroom – Dealing with peeling paint in your bathroom can be a frustrating experience. The moisture from showers and baths often leads to this issue, but a fresh coat of paint can easily remedy the situation. While you’re working on the paint, consider adding some stylish storage solutions like small wooden shelves for bathroom.
These shelves can help keep your bathroom organized and add a touch of charm. Once the paint is dry and your shelves are installed, you’ll have a fresh and functional bathroom space.
Dealing with peeling paint in your bathroom can be frustrating, but it’s important to address the issue to prevent further damage. Before you start scraping and repainting, consider the overall aesthetic of your bathroom. If space is a concern, a strategically chosen shower curtain can create the illusion of a larger space.
Explore options for shower curtains to make small bathrooms look bigger to enhance your bathroom’s visual appeal. Once you’ve addressed the shower curtain, you can tackle the peeling paint with confidence, knowing your bathroom will feel fresh and inviting.
